
The Ultimate AC Unit Installation Guide: Stay Cool with Confidence

Installing an air conditioner is a game-changer. It transforms your space into a cool oasis during scorching days. But don’t just dive in blindly. You need a solid plan, the right tools, and clear steps. I’m here to walk you through everything you need to know about ac unit installation. Ready? Let’s get started!
Your Step-by-Step AC Unit Installation Guide
First things first: choose the right AC unit for your space. Size matters. Too small, and it won’t cool effectively. Too big, and you’ll waste energy and money. Calculate the square footage of the room or building. Use online calculators or consult a professional to find the perfect match.
Next, pick the installation spot carefully. It should be:
Near a power source
Away from direct sunlight
Clear of obstructions for airflow
Accessible for maintenance
Once you have your unit and location, gather your tools: drill, screwdriver, level, measuring tape, and safety gear. Safety first!
Installation steps:
Mount the bracket or base securely on the wall or window frame. Use a level to ensure it’s straight.
Position the AC unit on the bracket. Make sure it’s stable and properly aligned.
Seal gaps around the unit with weatherstripping or foam to prevent air leaks.
Connect the electrical wiring according to the manufacturer’s instructions. If you’re not confident, hire a licensed electrician.
Install the drainage system to avoid water damage. Most units have a built-in drain pipe or pan.
Test the unit by turning it on and checking for proper cooling and airflow.
Don’t rush. Take your time to do it right. A proper install means better performance and longer life for your AC.
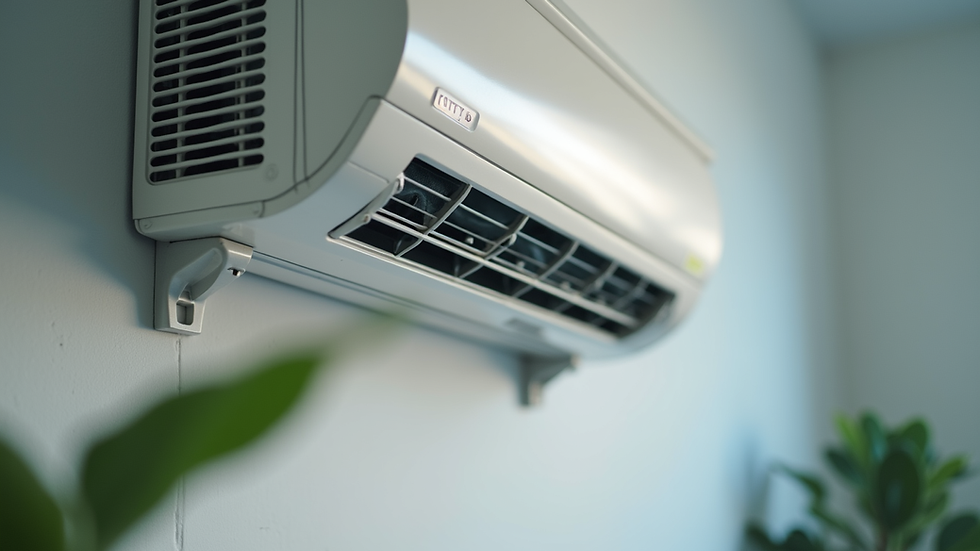
Why This AC Unit Installation Guide Matters
You might think installing an AC is just about plugging it in and turning it on. Wrong! A bad install can cause:
Poor cooling
High energy bills
Frequent breakdowns
Water leaks and damage
Voided warranties
This guide ensures you avoid those pitfalls. Follow it closely, and you’ll enjoy a cool, comfortable space without headaches.
Plus, knowing the basics empowers you to spot issues early. You’ll save money on repairs and keep your system running smoothly.
Remember, if you ever feel stuck, don’t hesitate to call a pro. Sometimes, a quick air conditioner install by experts is the smartest move.
Tools and Tips for a Smooth Installation
Having the right tools makes all the difference. Here’s what you need:
Drill and drill bits for mounting brackets
Screwdrivers (Phillips and flathead)
Level to ensure the unit is straight
Measuring tape for precise placement
Wire strippers and connectors for electrical work
Caulk or weatherstripping to seal gaps
Safety glasses and gloves for protection
Pro tips:
Double-check measurements before drilling.
Use a helper to hold the unit while you secure it.
Keep the power off during electrical connections.
Inspect the unit for damage before installation.
Clean the area where the unit will sit to avoid debris buildup.
Following these tips will make your installation faster and safer.

Maintenance After Installation: Keep Your AC Running Strong
Installation is just the beginning. To keep your AC in top shape:
Clean or replace filters monthly during heavy use.
Check the drainage system regularly to prevent clogs.
Inspect the outdoor unit for debris and clean it gently.
Schedule annual professional maintenance to catch issues early.
Monitor energy bills for sudden spikes that may indicate problems.
A well-maintained AC saves you money and keeps your space comfortable year-round.
Ready to beat the heat? Follow this ac unit installation guide step-by-step. Take your time, use the right tools, and don’t hesitate to call in experts when needed. Your cool, comfortable space is just an install away!


Comments